Container Gardening Herbs Step by Step: 2026 Complete Guide
Container Gardening Herbs Step by Step: 2026 Complete Guide
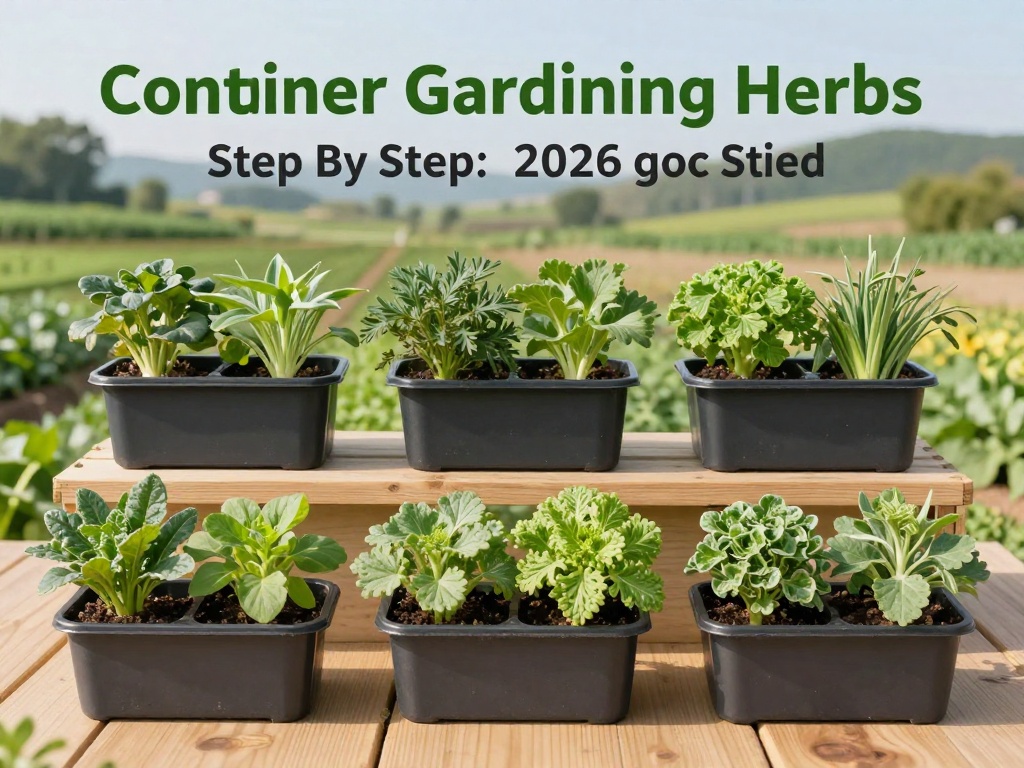
Container gardening herbs step by step is the perfect solution for anyone who wants fresh, flavorful herbs without needing a large backyard. Whether you have a tiny apartment balcony, a sunny windowsill, or limited outdoor space, growing herbs in containers allows you to cultivate a thriving mini-garden right at your fingertips. This complete guide walks you through everything you need to know to start your herb garden journey in 2026.
Why Choose Container Gardening for Herbs?
Container gardening offers incredible flexibility that traditional garden beds simply cannot match. You can move your herbs to follow the sunlight, bring them indoors during cold weather, and rearrange your garden aesthetic whenever you wish. Herbs grown in containers also face fewer issues with soil-borne diseases and pests that often plague in-ground gardens.
For urban dwellers and apartment residents, container gardening transforms any small space into a productive growing area. A single sunny balcony can yield enough fresh basil, mint, and rosemary to supply your kitchen throughout the growing season. The initial investment is minimal, requiring only basic supplies that you can source affordably.
Benefits of Growing Herbs in Containers
- Space efficiency - perfect for apartments, condos, and small patios
- Mobility - move plants to optimize sunlight exposure
- Better control over soil quality and drainage
- Reduced pest and disease problems
- Year-round growing potential with indoor placement
- Easy harvesting at eye level without bending
Step 1: Selecting the Right Containers
Choosing appropriate containers forms the foundation of successful container gardening herbs step by step. Your containers must provide adequate drainage while retaining enough moisture for healthy root development. The ideal container size depends on the specific herb you plan to grow, but most culinary herbs thrive in pots ranging from 6 to 12 inches in diameter.
Container Materials and Their Advantages
Terra cotta pots offer excellent breathability for soil, which helps prevent overwatering issues. However, they dry out more quickly and may require more frequent watering during hot summer months. Plastic containers retain moisture longer and are lightweight, making them ideal for hanging planters or windowsills. Self-watering containers feature reservoirs that provide consistent moisture, perfect for busy gardeners who travel frequently.
Whatever material you choose, ensure your containers have drainage holes at the bottom. Standing water in containers leads to root rot, which devastates herb plants quickly. If you fall in love with a decorative pot lacking drainage, simply use it as a decorative outer sleeve while keeping your herb in a practical inner pot with proper drainage.
Recommended Container Sizes for Common Herbs
- Basil, cilantro, and parsley: 6-8 inch diameter pots
- Mint and lemon balm: 10-12 inch containers (mint spreads aggressively)
- Rosemary, thyme, and oregano: 8-10 inch pots with good depth
- Chives and chervil: 6 inch containers, can be grouped together
Step 2: Choosing the Best Soil Mix
Successful container gardening herbs step by step requires quality potting mix specifically designed for containers. Never use garden soil alone, as it compacts too heavily in containers and suffocates roots. Quality potting mix provides the balance of moisture retention and drainage that herbs need to flourish.
Look for potting mixes labeled for containers or raised beds. These formulations typically contain a blend of peat moss, perlite, vermiculite, and composted organic matter. This combination ensures your herbs receive adequate nutrients while allowing excess water to drain away from roots. For Mediterranean herbs like rosemary, thyme, and oregano, consider adding coarse sand to improve drainage further.
Creating Your Own Herb Potting Mix
For the organic method enthusiast, mixing your own potting soil ensures complete control over ingredients. Combine two parts quality compost, one part perlite or coarse sand, and one part peat moss or coconut coir. This blend provides excellent drainage while retaining sufficient moisture and nutrients for robust herb growth throughout the season.
Step 3: Selecting Herbs for Container Growing
Not all herbs adapt equally well to container gardening, so choosing the right varieties matters enormously. Some herbs naturally thrive in confined spaces, while others require extensive root room that containers cannot provide. Starting with beginner-friendly herbs ensures your first container gardening experience delivers satisfying results.
Best Herbs for Beginners in Containers
Basil ranks as the quintessential container herb, thriving in warm conditions and producing abundantly from small pots. Mint grows vigorously in containers, which conveniently contains its aggressive spreading habit. Chives adapt beautifully to containers and provide continuous harvests with minimal care requirements.
Rosemary tolerates drier conditions and offers beautiful fragrant foliage year-round. Thyme and oregano both perform exceptionally well in containers, developing intense flavors when slightly stressed. Parsley and cilantro grow quickly in moderate-sized pots, providing fresh garnishes within weeks of planting.
Herbs to Approach with Caution
Some herbs present challenges in container environments. Dill develops deep taproots that struggle in shallow containers, requiring very deep pots if attempted. Tarragon prefers ground planting due to its extensive root system. Lemongrass grows quite large and needs substantial container space to remain productive.
Step 4: Planting Your Herb Containers
Proper planting technique sets your herbs up for success from day one. Begin by adding a layer of potting mix to your container, filling approximately one-third full. Gently remove your herb seedling from its nursery pot, loosening the root ball slightly to encourage outward growth rather than continued circular root development.
Position the seedling in the container so the soil level matches its previous growing depth. Adding more potting mix around the roots, press gently to eliminate air pockets without compacting the soil excessively. Water thoroughly until moisture appears from the drainage holes, then place your newly planted container in its designated growing location.
Companion Planting in Herb Containers
Grouping compatible herbs together maximizes your container gardening efficiency. Plant basil, parsley, and chives together since they share similar water and light requirements. Keep mint in its own container, as it overwhelms neighboring plants with its vigorous growth. Rosemary, thyme, and sage thrive together, preferring drier conditions than moisture-loving basil and cilantro.
Step 5: Providing Proper Light and Water
Understanding light requirements forms a critical part of container gardening herbs step by step. Most culinary herbs originate from Mediterranean regions and require at least six hours of direct sunlight daily. South-facing windows and south or west-facing balconies typically provide optimal light exposure for healthy herb growth.
Signs of insufficient light include leggy growth, pale leaves, and reduced flavor intensity. If your space lacks adequate natural light, consider supplementing with grow lights designed for edible plants. LED grow lights have become increasingly affordable and energy-efficient, making year-round indoor herb gardening accessible to everyone.
Watering Techniques for Container Herbs
Container herbs typically require more frequent watering than garden-grown plants because containers dry out faster. Check soil moisture daily during hot weather by inserting your finger one inch into the soil. When the top inch feels dry, water thoroughly until excess drains from the bottom. Morning watering allows foliage to dry before evening, reducing fungal disease risks.
Overwatering causes more herb deaths than underwatering in most cases. Herbs prefer slightly dry conditions to waterlogged soil. When in doubt, wait another day before watering. Terra cotta containers require more frequent watering than plastic or glazed ceramic pots due to their porous nature.
Step 6: Fertilizing Your Container Herbs
Container-grown herbs benefit from regular feeding since nutrients leach from containers with repeated watering. Organic liquid fertilizers work excellently for herbs, providing balanced nutrition without synthetic chemicals. Apply diluted fertilizer every two to three weeks during the active growing season for optimal results.
Avoid over-fertilizing, which produces lush growth with diluted flavor. Mediterranean herbs like rosemary, thyme, and oregano particularly suffer from excessive feeding, developing less intense flavors. For these herbs, monthly feeding at half-strength usually suffices. Compost tea provides a gentle, effective feeding option that improves soil health while nourishing plants.
Signs of Nutrient Deficiency
Yellowing lower leaves often indicate nitrogen deficiency, while purple-tinged foliage suggests phosphorus needs attention. Slow growth and small leaves may signal general nutrient depletion. Addressing deficiencies promptly with appropriate organic amendments restores plant vigor and ensures continued harvests throughout the season.
Step 7: Harvesting and Maintaining Your Herbs
Regular harvesting encourages bushier, more productive herb plants. For leafy herbs like basil and mint, pinch or cut stems just above a leaf node to promote branching. Never harvest more than one-third of the plant at once, allowing sufficient foliage remaining for continued photosynthesis and healthy regrowth.
Harvesting in the morning after dew dries but before afternoon heat concentrates essential oils produces the most flavorful results. For herbs like basil, regular harvesting also prevents flowering, which causes leaves to turn bitter. If your basil begins flowering, pinch off the blooms immediately and harvest heavily to redirect energy to leaf production.
Extending Your Harvest Season
Extend your container gardening benefits by strategically placing plants for extended harvests. Move containers indoors before first frost for continued production. Take cuttings from established plants to propagate new starts. Dry or freeze surplus harvests to enjoy your homegrown herbs throughout winter months when fresh growing slows.
Troubleshooting Common Container Herb Problems
Even with careful attention, container herb gardeners occasionally encounter challenges. Understanding common problems helps you address issues quickly before significant damage occurs. Most problems stem from improper watering, inadequate light, or pest invasions that can be managed with prompt intervention.
Fungal Disease Prevention
Good air circulation around containers prevents most fungal problems affecting herbs. Space containers to allow airflow between plants. Water at soil level rather than overhead to keep foliage dry. If fungal issues appear, remove affected leaves immediately and improve growing conditions. Copper-based organic fungicides provide treatment options when cultural controls prove insufficient.
Pest Management for Indoor and Outdoor Containers
Common herb pests include aphids, spider mites, and whiteflies. Inspect new plants carefully before introducing them to your collection. Hose pests off with strong water sprays for minor infestations. Insecticidal soap provides effective organic control for most soft-bodied insects without harming beneficial insects when applied correctly.
Essential Tips for Container Gardening Success in 2026
Mastering container gardening herbs step by step requires patience and attention to your plants' signals. Start small with three to five herbs rather than overwhelming yourself with dozens of varieties. Observe how your specific location affects light patterns and adjust container placement accordingly throughout the season.
Keep records of what works in your space, including planting dates, harvest quantities, and any problems encountered. This information proves invaluable for improving your container garden year after year. Join online gardening communities to share experiences and gather tips specific to your climate zone and growing conditions.
Container gardening herbs step by step rewards your efforts with fresh, flavorful herbs at your fingertips. The satisfaction of snipping homegrown basil for pasta or mint for tea makes every bit of effort worthwhile. Start your container garden this year and discover the joy of growing your own culinary herbs regardless of your living situation.
Frequently Asked Questions
What herbs grow best in containers for beginners?
Basil, mint, chives, parsley, rosemary, and thyme are the best herbs for beginners in containers. These varieties tolerate variable conditions, grow quickly, and provide abundant harvests with minimal care requirements. Starting with two or three of these proven performers builds confidence before attempting more challenging herb varieties.
How often should I water herbs in containers?
Container herbs typically need watering every one to three days depending on weather conditions, container material, and plant size. Check soil moisture daily during summer by inserting your finger one inch deep. When the top inch feels dry, water thoroughly until drainage appears. Reduce watering frequency in winter when plant growth slows.
What size container do I need for growing herbs?
Most culinary herbs thrive in containers 6 to 12 inches in diameter with similar depth. Leafy herbs like basil and cilantro need 6 to 8 inch pots, while larger herbs like rosemary require 8 to 10 inches. Mint needs at least 10 inches to accommodate its spreading root system. Always ensure containers have adequate drainage holes regardless of size.
Can I grow multiple herbs in one container?
Yes, you can grow multiple compatible herbs together in one large container. Group herbs with similar water and light requirements, such as basil, parsley, and chives. Avoid planting aggressive spreaders like mint with other herbs, as they will dominate. A 14 to 16 inch window box accommodates several complementary herbs beautifully.
What is the best location for container herb gardens?
The best location provides at least six hours of direct sunlight daily with protection from strong winds. South-facing positions work excellently for most herbs. Mediterranean herbs tolerate more intense sun, while cilantro and parsley appreciate some afternoon shade in hot climates. Rotate containers periodically for even growth if light distribution is uneven.
How long does it take to grow herbs from seed in containers?
Herb seedlings typically become harvestable within four to eight weeks after planting. Fast-growing herbs like basil and cilantro reach harvestable size in about four weeks. Slower herbs like rosemary and thyme require six to eight weeks before significant harvesting. Using transplants rather than seeds accelerates your first harvest by several weeks.
Do container herbs need fertilizer?
Container herbs benefit from regular, light fertilizing every two to four weeks during the growing season. Organic liquid fertilizers or compost tea work well for edible herbs. Avoid heavy feeding, which produces lush growth with diluted flavor. Mediterranean herbs need less frequent feeding than moisture-loving basil and mint.
How do I overwinter container herbs?
Move container herbs indoors before frost arrives for most varieties. Place them near your brightest window, ideally a south-facing one. Reduce watering since indoor growth slows during winter. Mediterranean herbs like rosemary tolerate cool indoor temperatures, while tropical herbs like basil prefer warmer spots. Supplement with grow lights if natural light is insufficient for healthy growth.
0 Response to "Container Gardening Herbs Step by Step: 2026 Complete Guide"
Post a Comment