Herb Cuttings Propagation Guide: 2026 Step-by-Step Methods
Herb Cuttings Propagation Guide: 2026 Step-by-Step Methods
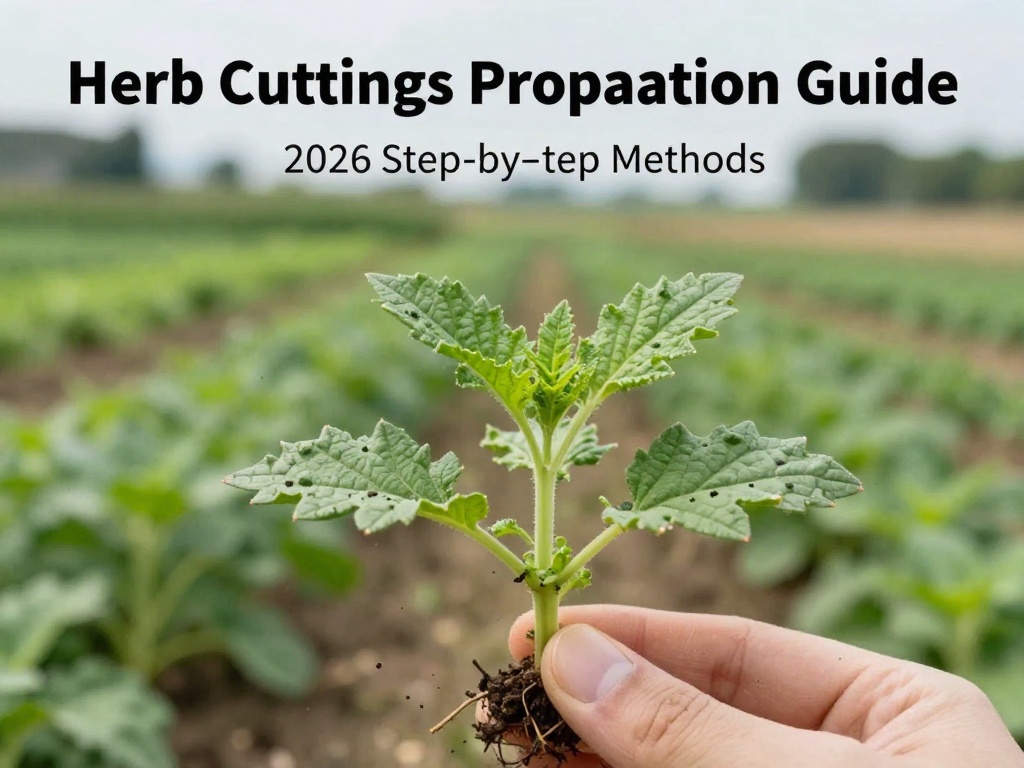
Growing herbs from cuttings is one of the most rewarding techniques any gardener can master. This herb cuttings propagation guide walks you through every step—from selecting the perfect stem to watching your new plants flourish. Whether you're working with basil on a windowsill or rosemary in raised beds, propagation lets you multiply your favorite flavors without buying new plants. Let's dive into the methods that work best in 2026.
Why Propagate Herbs from Cuttings?
Propagating herbs from cuttings offers multiple advantages over starting from seeds. First, you get identical plants to your parent herb, preserving that exact flavor and growth habit you love. Second, cuttings root much faster than seeds germinate—often within two to four weeks. Third, a single healthy plant can produce dozens of new herbs, making this approach incredibly cost-effective for small spaces and containers alike.
For beginners, this method removes the uncertainty of seed starting. You skip the delicate germination stage entirely and work with already-mature plant material that's far more forgiving.
Best Herbs for Cutting Propagation in 2026
Not all herbs root with equal ease. Some varieties are particularly well-suited for beginners learning this technique:
- Mint – Roots exceptionally fast, making it perfect for practice
- Basil – Responds quickly and produces usable cuttings within days
- Rosemary – Woody stems root reliably with minimal effort
- Thyme – Small cuttings establish well in soil or water
- Oregano – Grows vigorously from stem cuttings
- Sage – Moderately easy, rewards patient gardeners
- Lavender – Semi-woody cuttings root successfully
Annual vs. Perennial Herb Considerations
Annual herbs like basil and cilantro root quickly but have shorter lifespans. Perennial herbs such as rosemary, thyme, and sage take slightly longer to root but provide harvests for years once established. Consider growing both types for continuous supply throughout the seasons.
Essential Tools and Materials
Gather these items before starting your herb cuttings propagation journey:
- Clean, sharp pruning shears or scissors
- Small containers or pots with drainage holes
- Sterile potting mix or perlite
- Clear plastic bags or a propagation dome
- Rooting hormone powder (optional but recommended)
- Water and a spray bottle
Having everything ready before you begin ensures clean cuts and reduces stress on both you and your plant material.
Step-by-Step: Water Propagation Method
Water propagation is the simplest approach and works wonderfully for beginners in small spaces or indoor gardens.
Step 1: Select Your Cuttings
Choose healthy stems from your parent herb plant. Look for new growth that's green but firm—not the soft, overly flexible tips. Each cutting should be 4-6 inches long with at least two sets of leaves. Avoid any stems showing yellowing, disease spots, or pest damage.
Step 2: Prepare the Stem
Make your cut just below a leaf node (the point where leaves attach to the stem). Remove the lower leaves, keeping only the top two or three sets. This prevents rotting and directs the plant's energy toward root growth rather than sustaining excess foliage.
Step 3: Place in Water
Put your prepared cutting in a clean glass or jar filled with fresh water. Ensure no leaves touch the water—only the stem should be submerged. Position the container in bright, indirect light away from direct sun that could overheat the water.
Step 4: Maintain and Monitor
Change the water every two to three days to prevent bacterial growth. Within one to three weeks, you should see small white roots emerging. Once roots reach 2-3 inches long, your cutting is ready for transplanting into soil.
Step-by-Step: Soil Propagation Method
Soil propagation produces stronger root systems adapted directly to growing conditions. This method works especially well for woody herbs like rosemary and lavender.
Step 1: Prepare Your Medium
Fill small pots with a well-draining mix—combine potting soil with perlite or sand for best results. Moisten the medium until it feels damp but not waterlogged. Pre-making holes with a pencil or chopstick creates perfect planting spots for your cuttings.
Step 2: Apply Rooting Hormone
Dip the cut end of your stem into rooting hormone powder. Tap off any excess—too much can actually hinder root development. While optional, this step significantly increases success rates, especially for more stubborn varieties like rosemary.
Step 3: Plant the Cutting
Insert the hormone-dusted end into your pre-made hole, pressing soil firmly around the stem. Ensure at least one node sits beneath the soil surface, as this is where the most active root growth occurs.
Step 4: Create Humidity
Cover your pot with a clear plastic bag to create a mini greenhouse effect. This maintains humidity levels critical for preventing wilting while roots develop. Leave one corner open slightly for air circulation, or poke a few small holes.
Step 5: Provide Proper Care
Place in bright, indirect light and maintain consistent moisture. Mist the cutting regularly and check for roots after three to four weeks by very gently tugging on the stem. Resistance indicates successful rooting.
Common Mistakes to Avoid
Understanding what goes wrong helps you succeed on your first attempt. Most failures stem from a handful of preventable causes.
Using Poor-Quality Parent Plants
Never take cuttings from diseased, pest-infested, or stressed plants. The health of your parent plant directly determines the vigor of your new cuttings. Choose the most robust specimens in your garden.
Overwatering or Underwatering
Both extremes kill cuttings. Water propagation requires fresh water changes; soil propagation needs consistently damp—not soggy—medium. Stick your finger into the soil to check moisture levels before watering.
Taking Cuttings at the Wrong Time
Early morning offers the best time for taking cuttings, when plants are fully hydrated. Avoid taking cuttings during hot afternoon hours or during active blooming periods, when energy goes toward flower production rather than root development.
Skipping Sterilization
Always clean your cutting tools with rubbing alcohol between plants. This prevents spreading disease from one plant to another, especially important when propagating multiple varieties.
Transplanting Your Rooted Cuttings
Once roots have developed, whether in water or soil, your new herb needs careful transplanting to continue thriving.
Hardening Off Process
Introduce indoor-propagated cuttings to outdoor conditions gradually over seven to ten days. Start by placing them outside for an hour in shade, increasing time and sun exposure daily. This prevents transplant shock that can kill even well-rooted plants.
Choosing the Right Container or Location
Select pots with adequate drainage for containers, or prepare garden beds with rich, well-amended soil. Most culinary herbs prefer full sun—at least six hours daily—and good air circulation to prevent fungal issues.
Ongoing Care for Propagated Herbs
Your work continues after successful rooting. Proper maintenance ensures your new plants remain productive and healthy.
- Water appropriately – Most herbs prefer slightly dry conditions over constant moisture
- Harvest regularly – Pinching back growth encourages bushier, more productive plants
- Feed sparingly – Too much fertilizer produces lush growth at the expense of essential oils and flavor
- Monitor for pests – Indoor herbs especially attract aphids, spider mites, and whiteflies
Advanced Tips for Maximum Success
Once you've mastered basic herb cuttings propagation, these techniques can elevate your results significantly.
Misting Systems for Humidity
For serious propagators, automated misting systems maintain perfect humidity levels without daily attention. While an investment, they dramatically increase success rates when propagating large quantities.
Heat Mats Accelerate Rooting
Bottom heat warms the soil consistently, speeding root development by 20-30 percent. Specialized propagation heat mats are relatively inexpensive and work especially well during cooler months.
Selective Harvesting Techniques
Regular harvesting actually encourages more growth. Always cut just above a leaf node to trigger branching. For culinary use, morning harvesting captures peak essential oil concentration for maximum flavor.
Seasonal Timing for Herb Propagation
When you propagate affects both success rates and plant vigor. Understanding seasonal rhythms guides your timing decisions.
Spring Propagation
Spring offers ideal conditions as plants emerge from dormancy with vigorous growth energy. Cuttings taken now root quickly and establish well before summer heat arrives.
Fall Division and Propagation
Late summer into early fall works well for perennial herbs, giving new plants time to establish roots before winter dormancy. Indoor herb gardens can be propagated year-round under grow lights.
Cost and Effort Analysis
Herb cuttings propagation is remarkably economical. A single purchased plant can yield fifteen to twenty cuttings, each potentially becoming a mature plant worth $5-15 at market rates. Beyond the initial investment in basic supplies, ongoing costs are essentially zero.
Expect to invest fifteen to thirty minutes per cutting during the process, with most time spent monitoring rather than active work. Weekly attention of just a few minutes maintains dozens of propagating cuttings simultaneously.
FAQ
How long does it take for herb cuttings to root?
Most herb cuttings develop visible roots within two to four weeks. Soft herbs like basil and mint may root in as little as seven to ten days, while woody varieties like rosemary can take four to six weeks. Patience and consistent care are key to success.
Can I propagate herbs from store-bought bunches?
Yes, you can often root herbs from grocery store bunches. Look for stems that appear fresh with intact nodes. Remove any lower leaves, follow standard propagation steps, and expect slightly lower success rates than using garden-grown parent plants.
What's the best rooting hormone for herbs?
Commercial rooting hormones come in three strengths—liquid, gel, and powder. For most culinary herbs, a #1 or #2 strength powder works well. Organic alternatives like willow water provide natural auxins that encourage rooting without synthetic chemicals.
Why are my cuttings turning black?
Blackening stems indicate rot from overwatering, bacterial infection, or insufficient light. Remove affected cuttings immediately to prevent spreading. Adjust your watering schedule, improve air circulation, and ensure proper light levels for remaining cuttings.
When should I transplant rooted cuttings to larger pots?
Transplant when roots are two to three inches long and you see new top growth beginning. For water-propagated cuttings, move them within a day or two once roots reach this length to prevent them from becoming water-adapted rather than soil-adapted.
How many cuttings should I take at once?
Take as many as your space and attention allow. Success rates vary, so starting with five to ten cuttings of each herb type gives you buffer for inevitable losses while building experience. As you learn each variety's quirks, you can scale up confidently.
0 Response to "Herb Cuttings Propagation Guide: 2026 Step-by-Step Methods"
Post a Comment