Soil Aggregate Stability Testing Methods: 2026 Complete Guide
Soil Aggregate Stability Testing Methods: 2026 Complete Guide
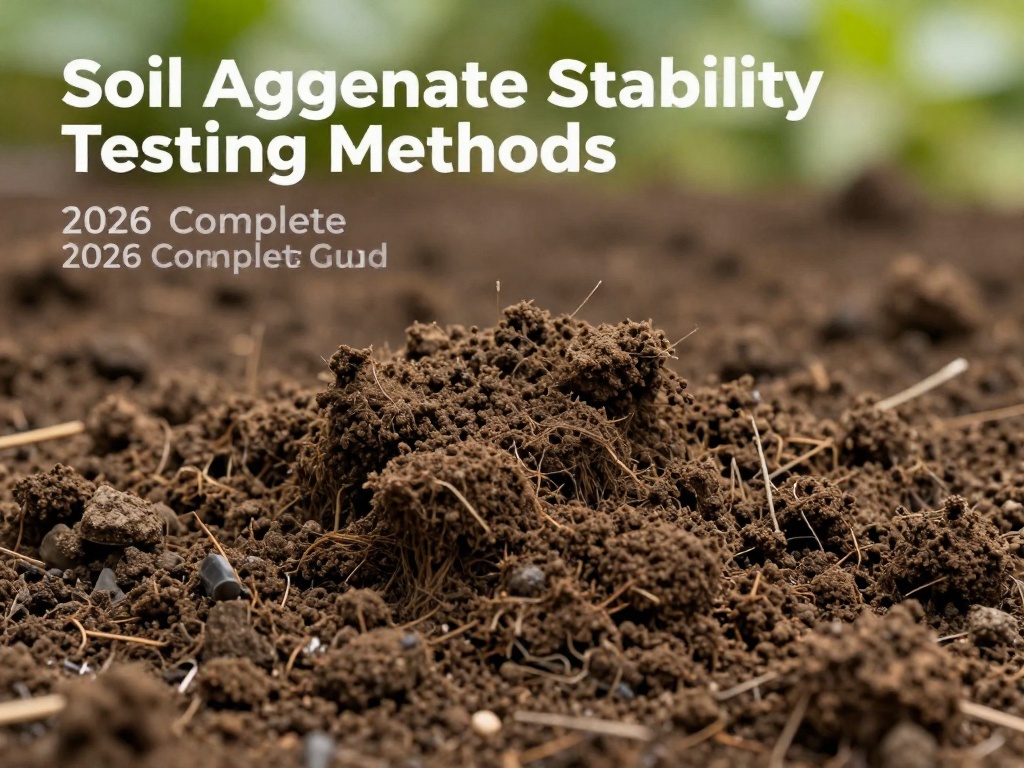
Soil aggregate stability testing methods are essential techniques that help farmers, researchers, and agricultural professionals evaluate soil health and structure. Understanding how stable your soil aggregates are can transform your farming approach and dramatically improve crop yields. This comprehensive guide covers the most effective testing methods available in 2026, from traditional laboratory techniques to cutting-edge digital analysis tools.
Healthy soil aggregates form the foundation of productive agricultural systems. When aggregates remain intact during wetting and drying cycles, they create the pore spaces necessary for water infiltration, root penetration, and nutrient cycling. Testing these aggregates provides critical data for making informed land management decisions.
Why Soil Aggregate Stability Matters for Growers
Soil aggregate stability directly influences multiple critical aspects of agricultural productivity. Stable aggregates resist erosion, maintain soil porosity, and create favorable conditions for beneficial soil organisms. When aggregates break apart easily, soil becomes susceptible to crusting, compaction, and nutrient loss.
Benefits of Stable Soil Aggregates
- Improved water infiltration and retention capacity
- Enhanced root development and penetration
- Reduced soil erosion and nutrient runoff
- Better aeration for plant roots and soil microbes
- Increased organic matter storage and carbon sequestration
Signs of Poor Aggregate Stability
Visual indicators often reveal unstable soil conditions before laboratory testing. Watch for surface crusting after rainfall, ponding water, visible erosion channels, and poor seedling emergence. Soils that form hard clods when dry and disperse easily in water typically have weak aggregate structure.
Traditional Soil Aggregate Stability Testing Methods
Wet Sieving Method: The Gold Standard
The wet sieving method remains the most widely accepted technique for measuring soil aggregate stability in laboratories and field research settings. This method quantifies the percentage of water-stable aggregates remaining after mechanical agitation in water.
Materials Required:
- Sieve set (usually 8.0mm, 5.0mm, 2.0mm, 1.0mm, 0.5mm, 0.25mm)
- Wet sieving apparatus or mechanical shaker
- Oven for drying samples
- Analytical balance (precision to 0.01g)
- Water bath or container
Step-by-Step Procedure for Beginners:
First, collect soil samples from the field using a representative sampling pattern. Air-dry the samples gently, avoiding excessive heat that could alter aggregate properties. Second, select aggregates between 1-2mm size for standardized testing. Third, place the aggregates on the top sieve of a nested sieve set and immerse them in water. Fourth, raise and lower the sieve set mechanically or manually for a specified number of cycles. Finally, collect the material remaining on each sieve, dry it completely, and weigh to calculate the percentage of stable aggregates.
Slaking Test: Simple Field Assessment
The slaking test offers a quick qualitative method for evaluating aggregate stability directly in the field. This technique requires minimal equipment and provides immediate visual feedback about soil condition.
To perform this test, carefully place an intact soil clod into a wire mesh basket and submerge it in water. Observe the clod over several minutes and rate the breakdown pattern. Aggregates that maintain their shape with minimal disintegration indicate good stability, while those that collapse rapidly into individual particles suggest structural problems.
Rainfall Simulator Testing
Rainfall simulator tests replicate natural precipitation effects on soil surfaces. This method measures aggregate breakdown under controlled rainfall intensity, providing data relevant to actual field erosion conditions.
The apparatus applies standardized water droplets to soil samples while collecting runoff and sediment. Researchers analyze the collected materials to determine aggregate stability under realistic storm conditions. This technique proves particularly valuable for evaluating conservation practices and erosion control measures.
Modern Digital Analysis Methods for 2026
Image Analysis and Machine Learning
Advanced imaging technologies now enable rapid, objective assessment of soil aggregate stability. Digital image analysis systems photograph aggregates before and after treatment, then use sophisticated algorithms to quantify changes in size distribution, shape, and surface characteristics.
Machine learning models trained on thousands of aggregate images can predict stability scores with remarkable accuracy. These systems reduce human error and allow testing of significantly more samples within the same timeframe. Many agricultural laboratories have adopted these technologies for routine soil health assessments.
Laser Diffraction Analysis
Laser diffraction instruments measure particle size distributions with exceptional precision. When applied to aggregates before and after slaking or wet sieving, this technology provides detailed data on breakdown patterns. The method works particularly well for fine-textured soils where traditional sieving becomes challenging.
Spectral Analysis Techniques
Near-infrared spectroscopy and hyperspectral imaging can estimate aggregate stability indirectly by measuring soil properties that correlate with structural health. These rapid, non-destructive methods show promise for high-throughput screening applications in both research and commercial testing facilities.
Laboratory vs. Field Testing Approaches
When to Choose Laboratory Testing
Laboratory methods offer controlled conditions that eliminate environmental variables and enable precise measurement. Choose laboratory testing when you need scientifically rigorous data for research publications, regulatory compliance, or detailed comparisons between management practices. Laboratory environments allow standardization of temperature, water quality, and agitation intensity.
Advantages of Field-Based Assessment
Field testing provides immediate results under actual growing conditions. These methods cost less, require minimal equipment, and enable rapid assessment across multiple locations. Field tests prove invaluable for monitoring seasonal changes, evaluating treatment effects on-farm, and making quick management decisions during planting or harvest windows.
Interpreting Your Test Results
Understanding Stability Percentages
Aggregate stability results typically express as a percentage of water-stable aggregates. Values above 60% generally indicate good soil structure, while readings below 40% suggest significant structural problems requiring intervention. Optimal ranges vary by soil type, cropping system, and management objectives.
Factors Affecting Test Results
Several variables influence aggregate stability measurements. Organic matter content typically correlates positively with stability. Soil texture affects baseline stability levels, with loamy soils generally showing higher stability than sandy or heavy clay soils. Recent tillage, moisture history, and biological activity all impact results.
Improving Soil Aggregate Stability
Organic Amendments and Cover Crops
Organic matter serves as the primary binding agent for stable aggregates. Cover crops with diverse root systems contribute organic materials and create biopores that enhance structure. Incorporating compost, manure, or crop residues increases microbial activity that produces binding agents like polysaccharides and glomalin.
Reduced Tillage Practices
Minimizing tillage disturbance preserves existing aggregate structure and maintains organic matter levels. No-till and reduced tillage systems consistently demonstrate improved aggregate stability compared to conventional intensive tillage. When tillage becomes necessary, timing operations when soil moisture is at field capacity reduces structural damage.
Crop Rotation Strategies
Diverse crop rotations promote biological diversity that supports aggregate formation. Perennial crops, grasses, and legumes with varied root architectures contribute different organic compounds and root channels. Including grass species in rotation particularly benefits aggregate development through their extensive fibrous root systems.
Cost Considerations and Accessibility
Testing costs vary significantly depending on method complexity and whether samples are analyzed professionally or on-site. Basic slaking tests require virtually no equipment investment, while wet sieving in a commercial laboratory typically costs $25-75 per sample. Advanced digital analysis methods may cost more initially but reduce per-sample expenses when processing large sample volumes.
Many agricultural extension services offer reduced-cost or free soil health testing programs. University laboratories often provide testing services to farmers and researchers at subsidized rates. Consider bundling aggregate stability testing with routine soil nutrient analysis to maximize value from sampling trips.
Seasonal Timing for Testing
The ideal time for aggregate stability testing depends on your objectives and local conditions. Spring sampling before planting captures conditions most relevant to seedling establishment. Fall sampling after harvest reflects how the cropping season affected soil structure. Avoid sampling when soil is extremely wet or frozen, as these conditions alter aggregate characteristics.
For monitoring management practice effects, test at consistent times each year and maintain identical sampling protocols. Documenting sampling date, soil moisture, recent weather, and crop history helps interpret results and identify meaningful trends over time.
FAQ: Soil Aggregate Stability Testing Methods
What is the simplest method for testing soil aggregate stability at home?
The jar test or slaking test provides the easiest home-based assessment. Place a small soil clod in water and observe how quickly it breaks apart. Aggregates that remain intact for several minutes indicate reasonable stability, while rapid disintegration suggests problems requiring attention.
How often should I test soil aggregate stability on my farm?
Annual testing during the same season provides sufficient data for monitoring trends. After implementing new management practices, consider testing quarterly for the first two years to track changes. Once stable trends establish, three-year testing intervals suffice for established operations.
What equipment do I need for wet sieving aggregate stability tests?
Essential equipment includes a nested sieve set (8mm to 0.25mm), a mechanical wet sieving apparatus or manual oscillation system, an analytical balance accurate to 0.01 grams, an oven for drying samples, and collection containers. Total equipment costs range from $500-2000 depending on quality and automation level.
Can I test aggregate stability in sandy soils effectively?
Yes, but recognize that sandy soils naturally have lower aggregate stability than loamy soils. Focus on detecting changes over time rather than comparing absolute values to clay-rich soils. Adjusted interpretation guidelines exist specifically for coarse-textured soils.
What do my aggregate stability results mean for crop yields?
While aggregate stability doesn't directly determine yields, it strongly correlates with underlying soil health factors that control productivity. Stable aggregates improve water availability, root penetration, and nutrient access—all factors that ultimately influence crop performance and economic returns.
How long does it take to see improvements in aggregate stability?
Meaningful improvements typically require 2-5 years of consistent management changes. Organic matter additions begin affecting stability within months, but building the biological communities responsible for aggregate formation takes longer. Climate, soil type, and management intensity all influence the timeline.
0 Response to "Soil Aggregate Stability Testing Methods: 2026 Complete Guide"
Post a Comment